Flooring Transitions Across a Whole-Home Renovation
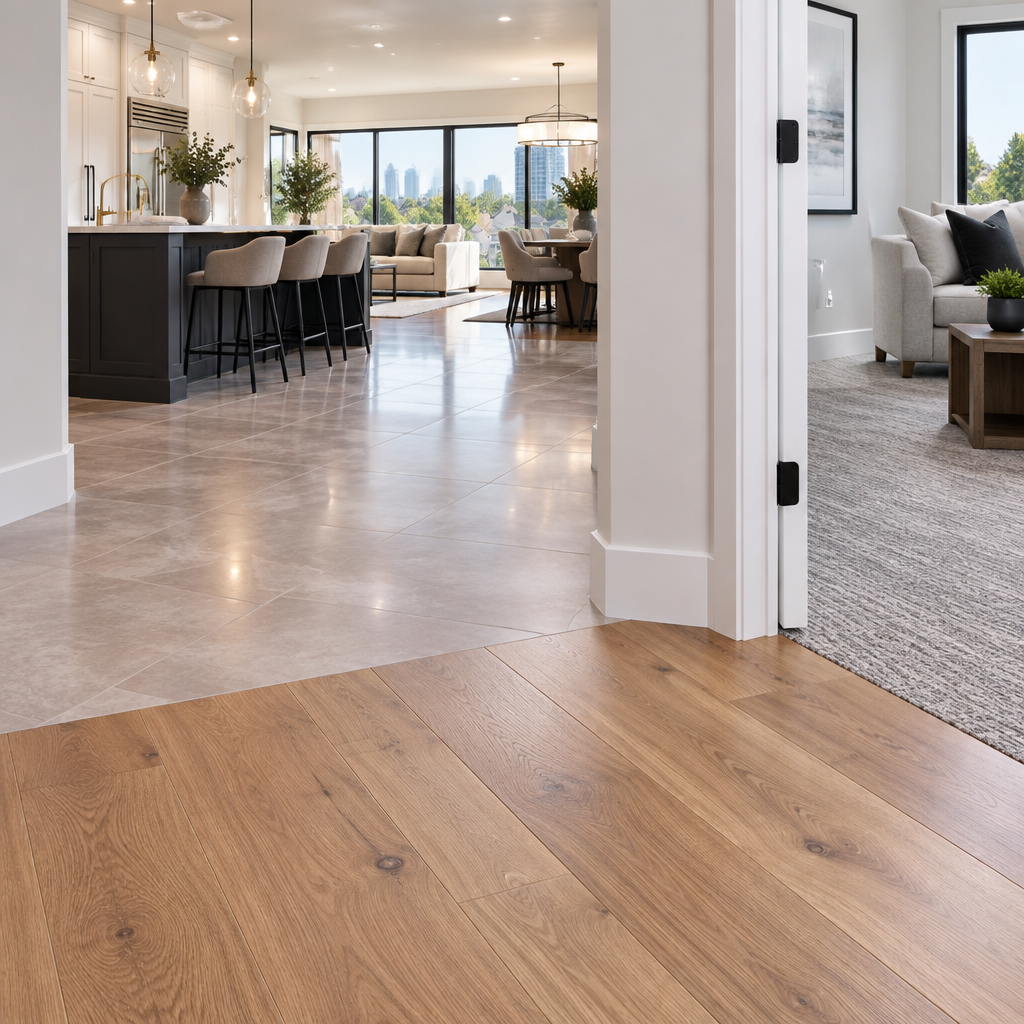
A continuous floor can be disrupted by old additions, uneven structure, tile build-up, heated areas, and different subfloors from room to room. Large cost overruns often begin with a small assumption left unchecked. With flooring transition planning in the GTA, those questions often concern access, existing damage, product compatibility, or work by another trade. Settling them during planning reduces risk to both timing and quality.
Create a finished floor level map
Record subfloor elevations and every material layer. Include membranes, heat, underlayment, adhesive, tile, wood, vinyl, and carpet.
Correct structure and flatness appropriately
Self-levelling products, plywood, grinding, and framing work have limits. Diagnose movement or deflection before using finish layers to hide it.
Place transitions intentionally
Use door lines, changes in room function, or designed thresholds. Avoid narrow slivers and random strips created after cabinets and stairs are installed.
Coordinate edges and fixed elements
Doors, baseboards, appliances, islands, stairs, railings, fireplaces, and exterior thresholds depend on final floor height. Confirm them before ordering.
Planning for GTA conditions
Older GTA homes may have several additions and framing systems, while condos have slab and sound-control rules. One flooring detail rarely fits the whole project. GTA projects are shaped by weather and access. Short exterior seasons, sudden rain, winter temperature swings, narrow side yards, shared driveways, and condo delivery rules can affect the plan for flooring transition planning in the GTA. A credible timeline makes room for those conditions instead of leaving them to chance.
Questions to settle before pricing
Use the first site meeting about flooring transition planning in the GTA to separate must-do work from optional upgrades. Safety, water control, structure, code, and basic function should remain protected when the budget tightens. Decorative choices can then be ranked by value and timing. Ask for alternates that describe exactly what changes, including any effect on warranty, maintenance, energy use, appearance, or future repair. This creates real choices instead of a vague request to make the quote cheaper.
Practical planning checklist
- Survey subfloor and finish elevations.
- Assess flatness, deflection, and moisture.
- Place transitions on the drawings.
- Coordinate doors, stairs, cabinets, and appliances.
The takeaway
A defined scope brings a complex choice under control. A calm finished floor begins with an accurate level map and early edge decisions. If you are planning this work in the GTA, MLB Renovations can assess the site and explain practical options without relying on a one-size-fits-all answer.